GUI: Usage
The Graphical User Interface (GUI) is designed for non-technical users who need a simple and intuitive way to anonymize small amounts of data. It offers easy file uploads, service selection, and result downloads—all through a browse
In This Guide, You’ll Learn:
- How to use the GUI for On-Premise and Cloud setups.
- How to upload files, select a service, and process data.
- An alternative: the Flasgger interface for API testing.
1. Graphical User Interface

Accessing the GUI
On-Premise Setup
- Start the Docker-based GUI using the start_redact script in the redeact_enterprise-orchestration folder:
/redact_enterprise_orchestration/start_redact.sh -u - Access the GUI in your browser:
http://<host-ip>:<port>/ui
Replace<host-ip>with your server IP address.
Replace<port>(default is 8080).
Tip: If the port conflicts (e.g., due to firewall issues), you can change it in the docker-compose.env file
Cloud Setup
- For the cloud version, access the GUI via:
https://portal.brighter.ai/ui - You will be prompted to enter your API key.
Steps to Use the GUI
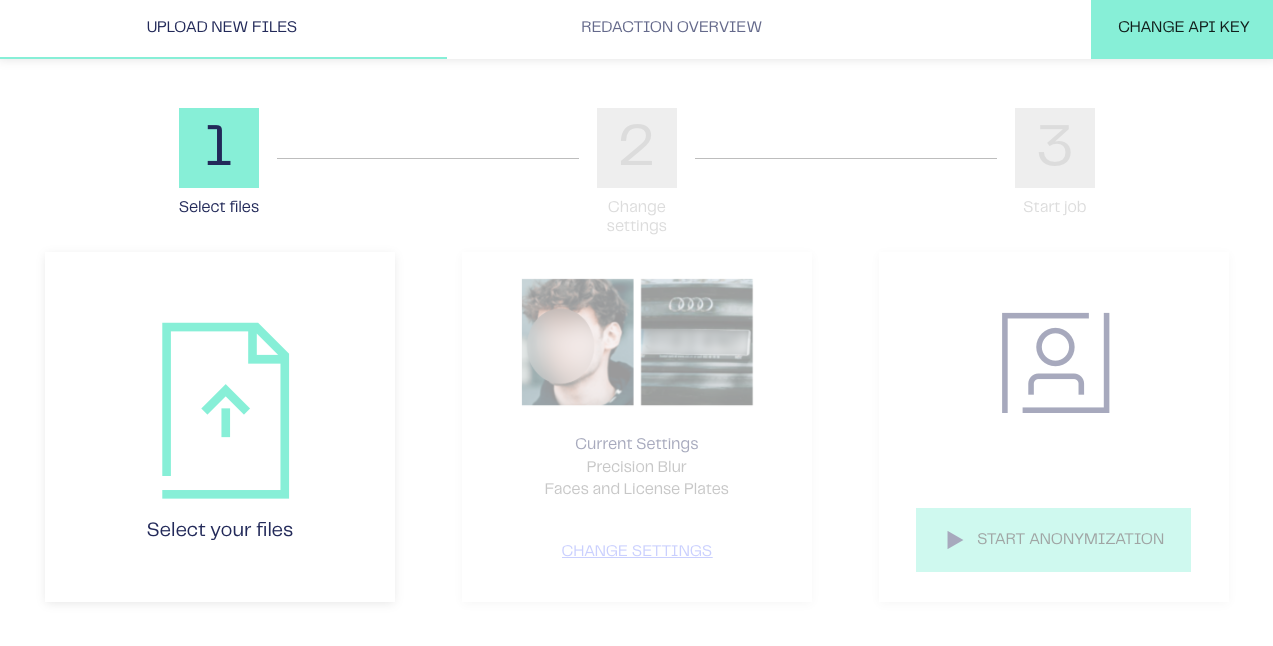
Step 1: Uploading Files
- Upload images, videos, or compressed folders containing these formats.
- For detailed format requirements (e.g., JPEG, MOV), see the Data Requirements Documentation. (LINK XXX)
Step 2: Selecting a Service
- Choose the anonymization service (e.g., blur or DNAT).
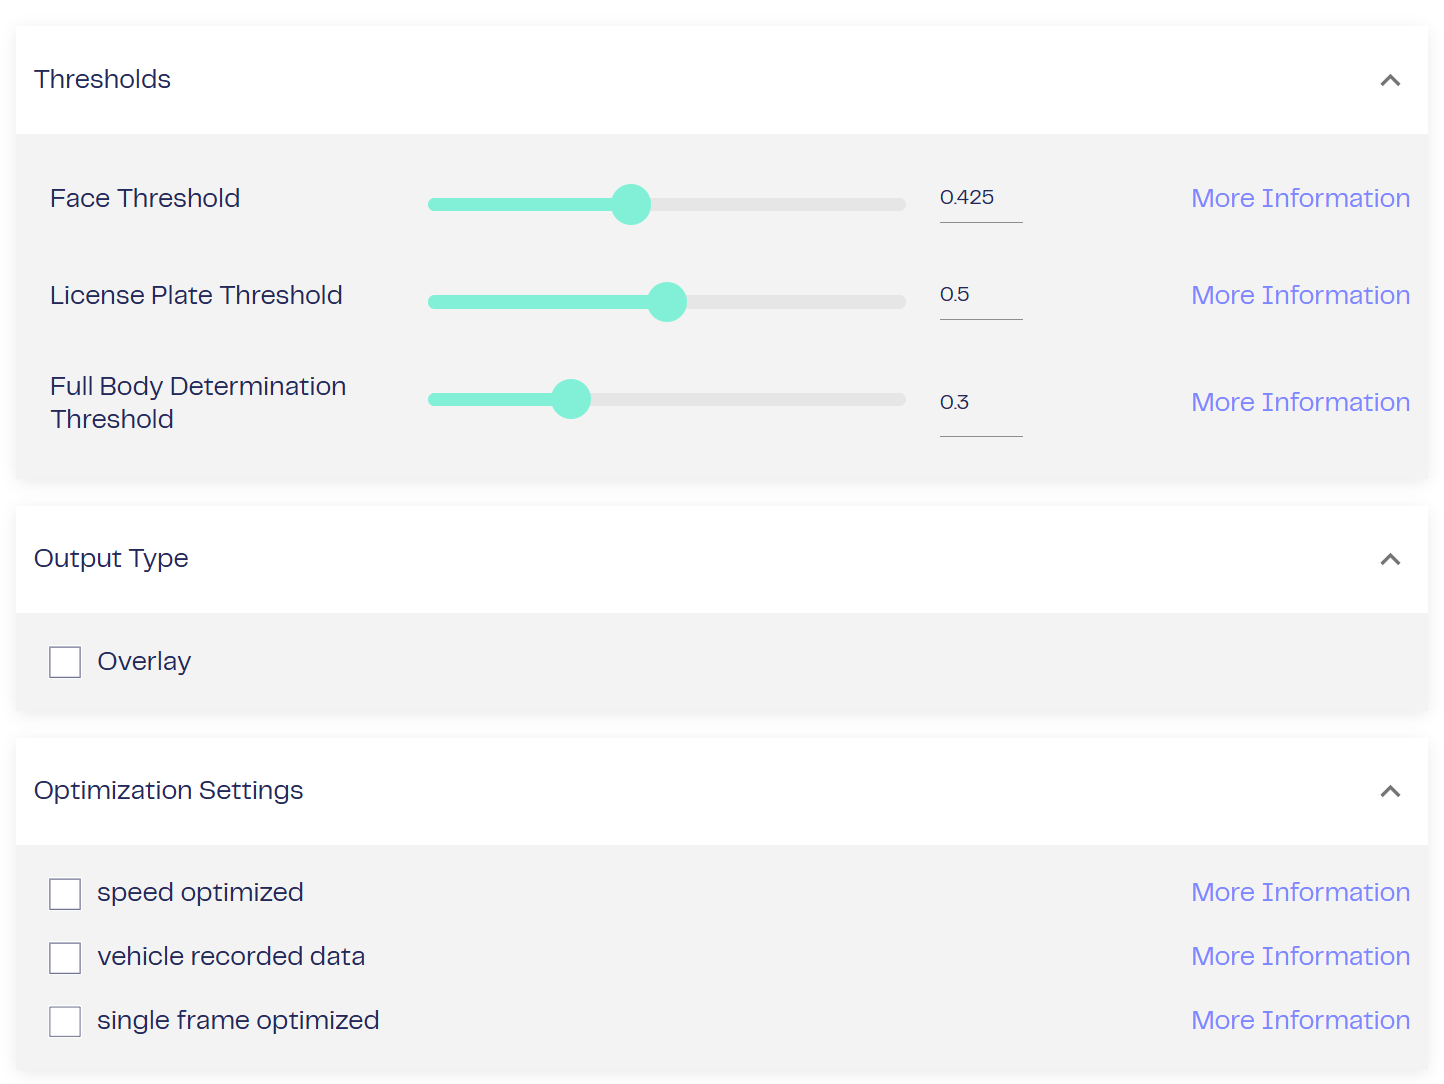
- Adjust advanced settings, such as thresholds, to optimize results for specific cases.

In the Advanced Settings, several parameters can be adjusted to customize the system's behavior:
- Threshold
In the Advanced Settings, users can modify the threshold for face detection, license plate recognition, and FBB. This allows for fine-tuning the internal thresholds to achieve better accuracy based on their specific data domain. - Output Type
The second option is to switch the output type to overlay. In this mode, only anonymized elements are included in the output. - Optimization Settings
Several parameters can be adjusted for optimization:- speed_optimization: Increases processing speed by skipping steps such as smoothing during processing.
- vehicle_recorded_data: Optimizes settings for data recorded in vehicles.
- single_frame_optimized: Processes videos or archives as single images rather than as sequences.
For a more detailed explanation of the parameters, please refer to the Query Params section in our documentation.
Step 3: Start Job
- Your data will now be processed.
- Processing time depends on:
- File size
- Resolution
- Number of PII elements (faces, license plates, etc.)
Once processing is complete, download your anonymized files directly through the interface.
2. Alternative Interface: Flasgger
For on-premise installations, you can access an alternative interface called Flasgger.
Access Flasgger:
- Navigate to the following address in your browser:
http://<ip-address>:8787 - Replace
<ip-address>with your server IP.
Flasgger Highlights:
- It serves as a graphical interface to the API.
- It is not optimized for usability but is useful for quick testing of API endpoints.
Troubleshooting
If you encounter any issues during the setup, please reach out to our team. We’ll assist you during the onboarding call to ensure a smooth deployment.
Updated 5 months ago
